Before registration or the live ticket sale starts, there are several crucial details that must be filled out at the organizer's end. This helps participants in comprehending the event's background and policies throughout the ticket and registration processes. Here is how you can set it up-
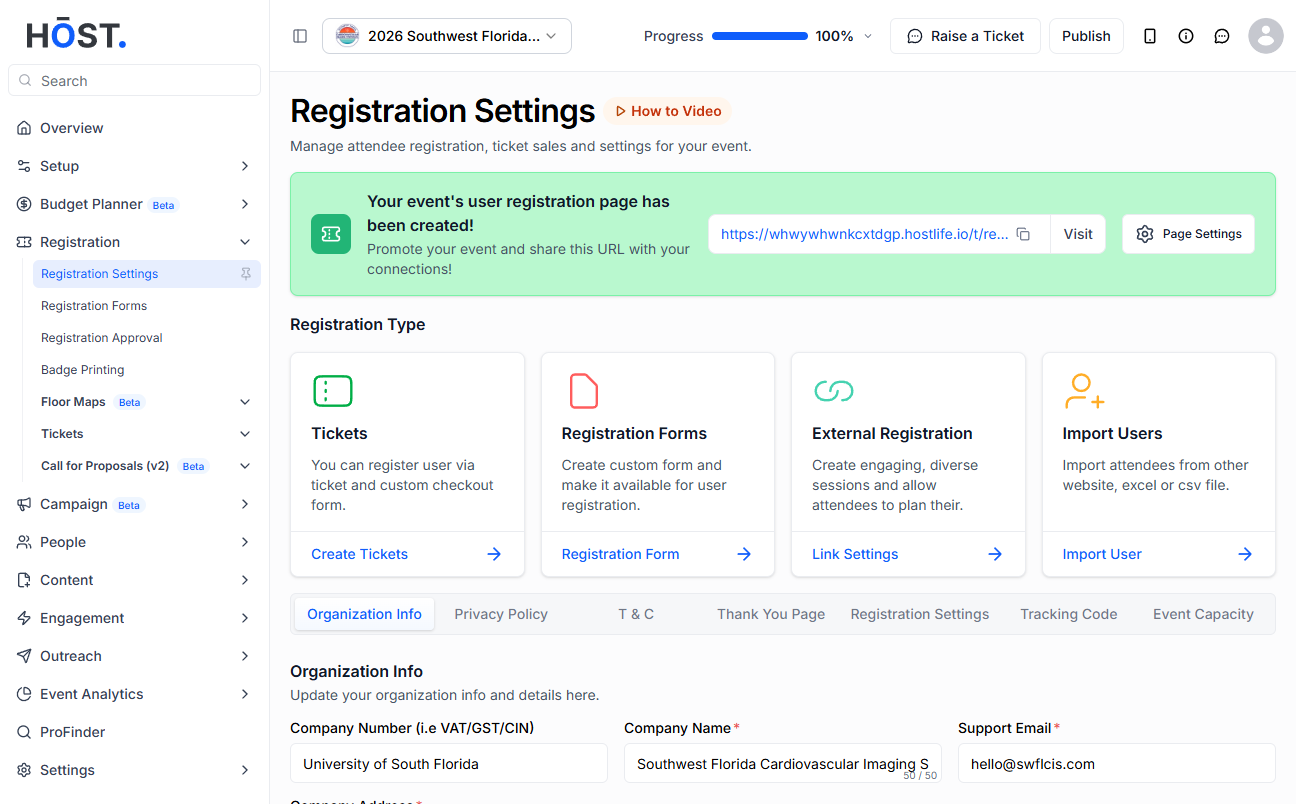
1: Go to Registration > Registration Settings. Under Organization Info, enter the Company Name and Address, a support email, the applicable Tax Type / Tax Percentage / Company Tax Number, and any invoice notes.
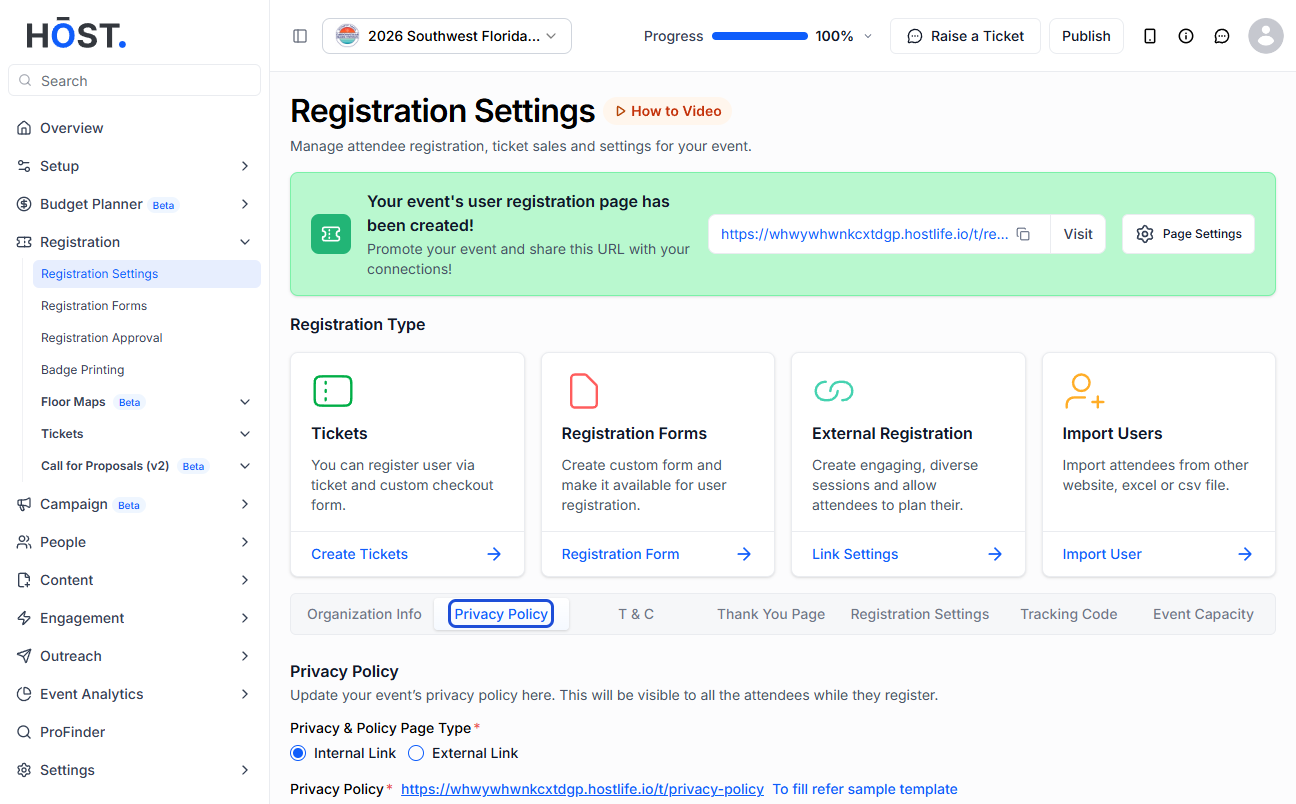
2: Open the Privacy Policy section and either type/paste your event's privacy policy or copy the sample template, paste it and edit the details. You can preview the page via its URL.
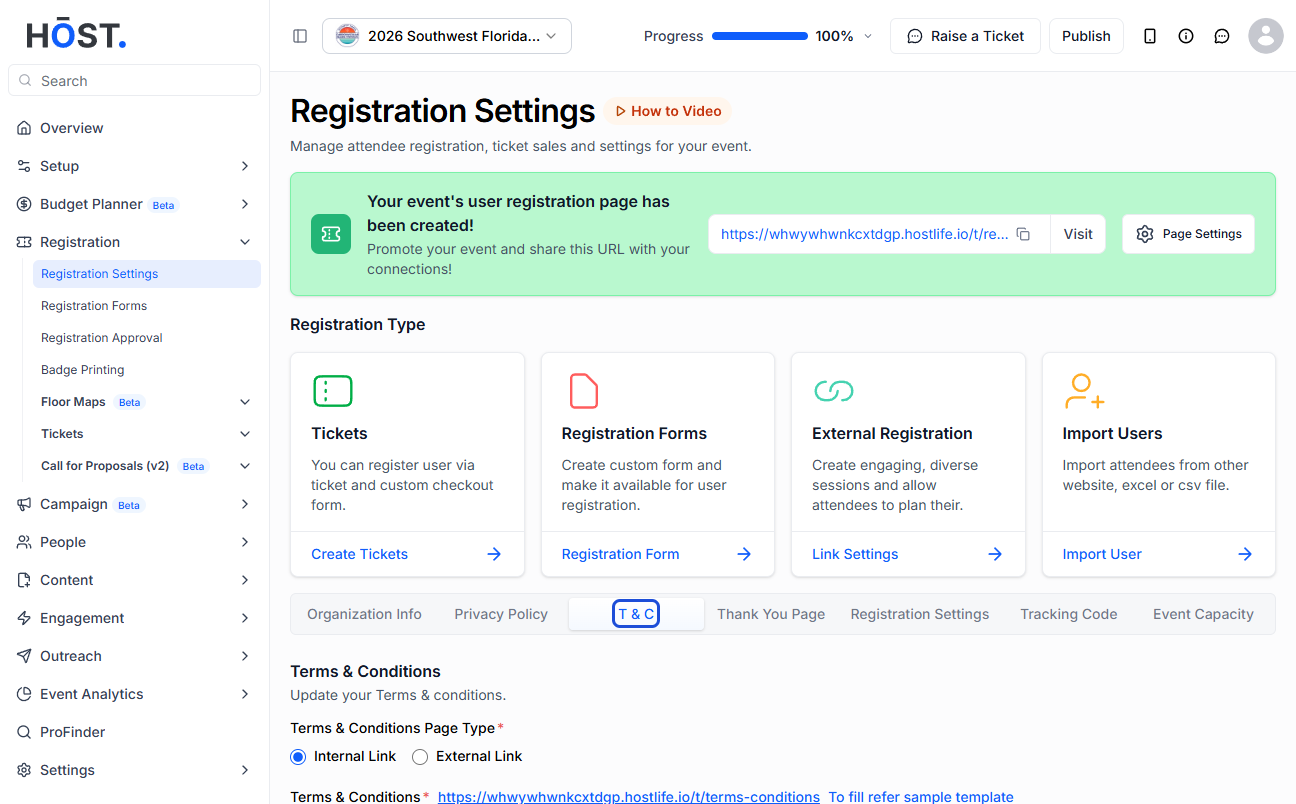
3: In Terms & Conditions, type/paste your T&C or use the sample template. Turn on “Show Refund Policy” and define your refund policy if you offer one.
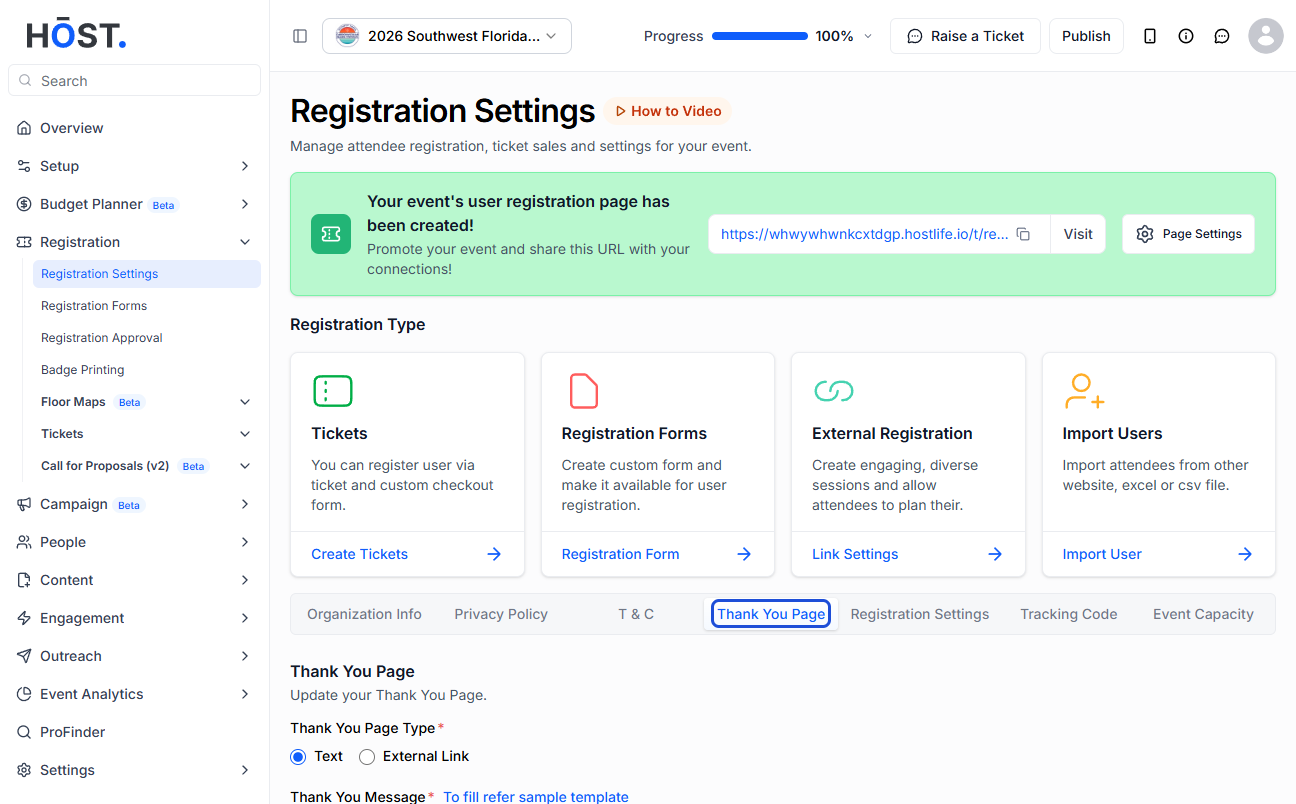
4: Set up the Thank You Page — add a text message on HOST's page or link to an External Link, with a separate message/redirect available for offline-payment users.
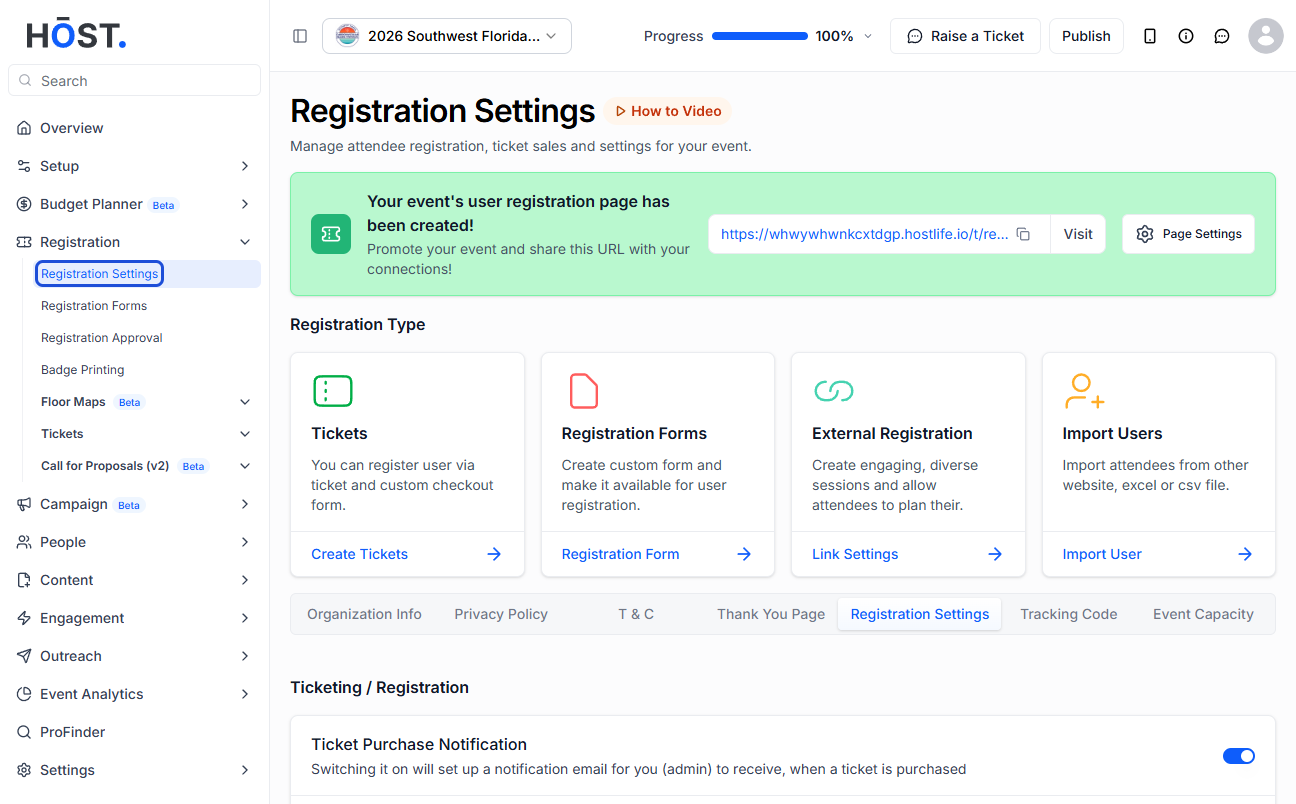
5: Under the ticket/registration settings, toggle options such as admin ticket emails, grouped tickets, assign-attendee-before-payment, invoices for paid or free tickets, ticket reassignment and RSVP logging — and use “Set Date” to limit the registration and login time periods.
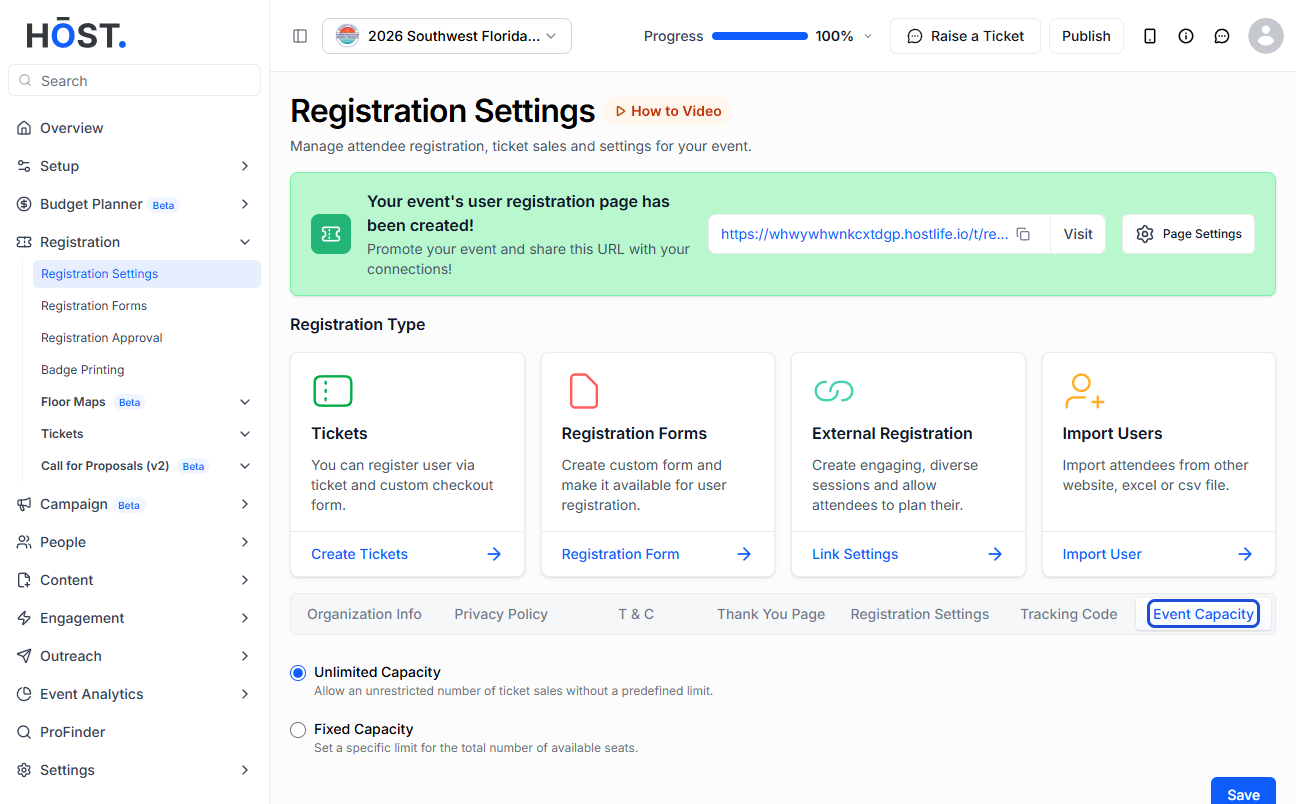
6: Finally, define the Event Capacity: choose unlimited attendee seats or a Fixed Capacity (and set the maximum number of attendees), and enable a waitlist to allow registrations beyond the set capacity.