Creating a community within your event provides a platform for attendees to engage with one another and with the event itself. This feature includes discussions about event updates, networking opportunities, shared interests, goals, job postings, and activities related to the event.
1: Go to Engagement > Community. Any predefined communities are listed here (you can delete them). Click the “Add New” button to create a new community.

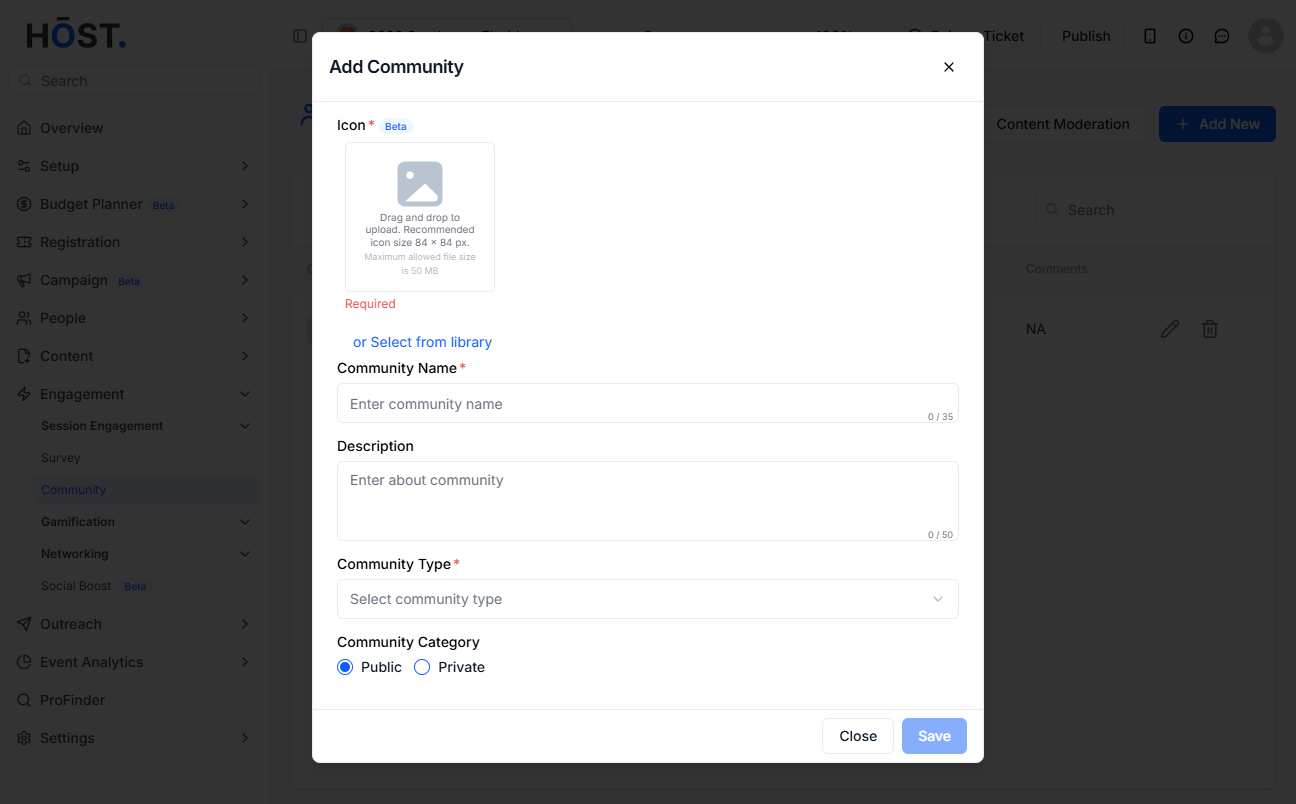
2: Upload a community icon or image (or pick one from the library), enter a Community Name, and add the community's purpose in the Description field.
3: Select a Community Type. HOST has 5 types: Post, Group, Ice Breaker (you can add questions and choose a colour for them), Meetup, and Job.
4: Set the Community Category to Public or Private (for Private, choose members via “View/Manage Users” by user group), use the restrict toggle to control who can post and comment, then click “Save” to create the community.
