Customizing user groups helps you organize and manage attendees. Follow the steps below to create, edit, or manage user groups in the HOST Admin Panel as per your event requirements.
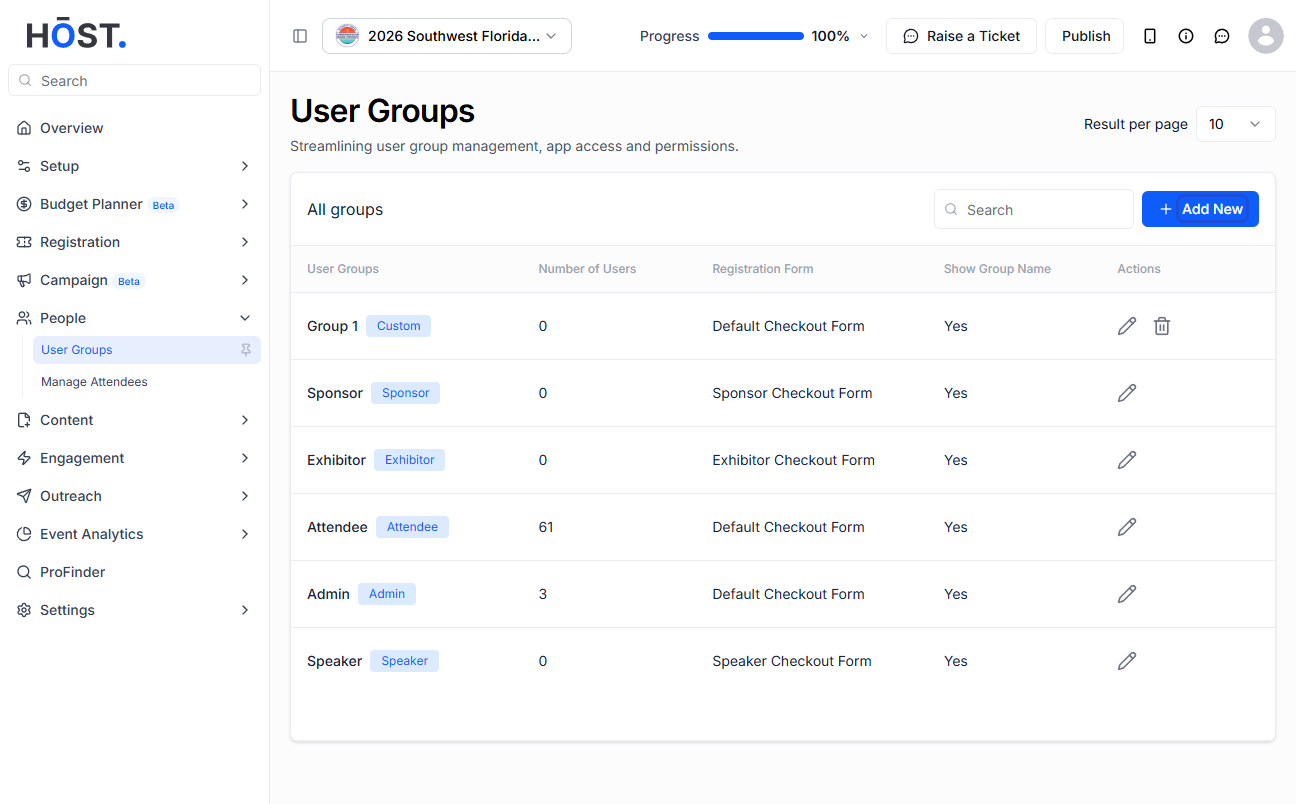
1: Go to People > User Groups. You'll see the default and custom groups. Click “Add New” to create a new group.
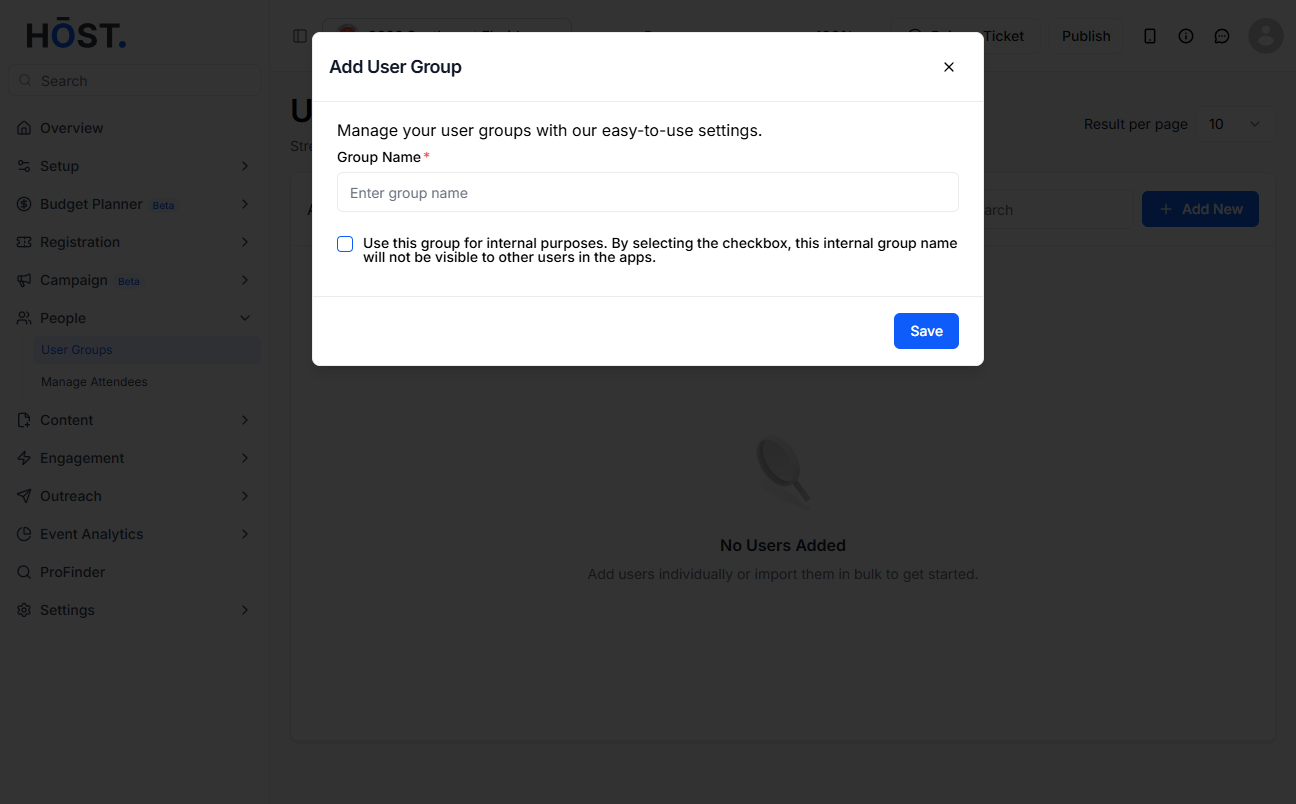
2: Enter the group name, optionally tick “Use this group for internal purposes” to keep it hidden from other groups, then click “Save”.
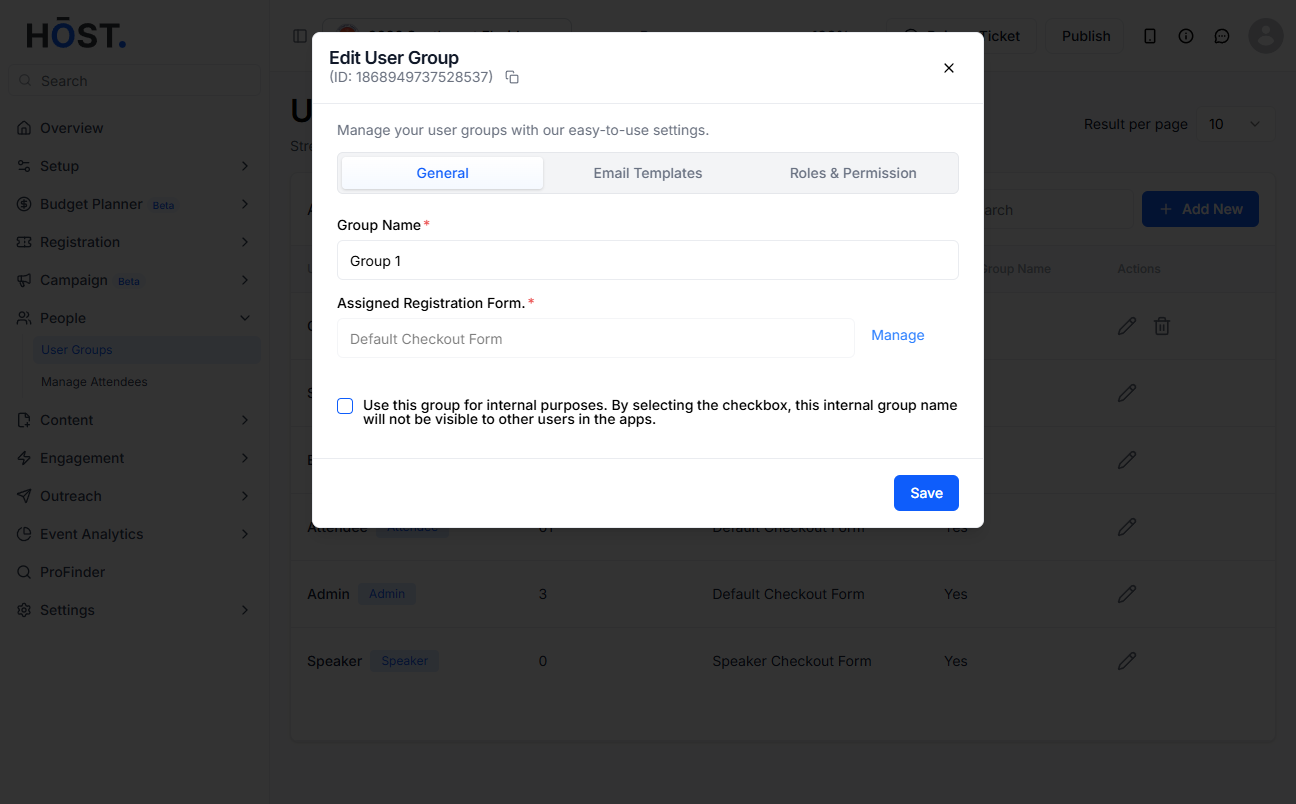
3: To edit a group, click its pencil icon. On the General tab you can change the group name and the assigned registration/checkout form (click “Manage” to update the form), and set the internal-group option.
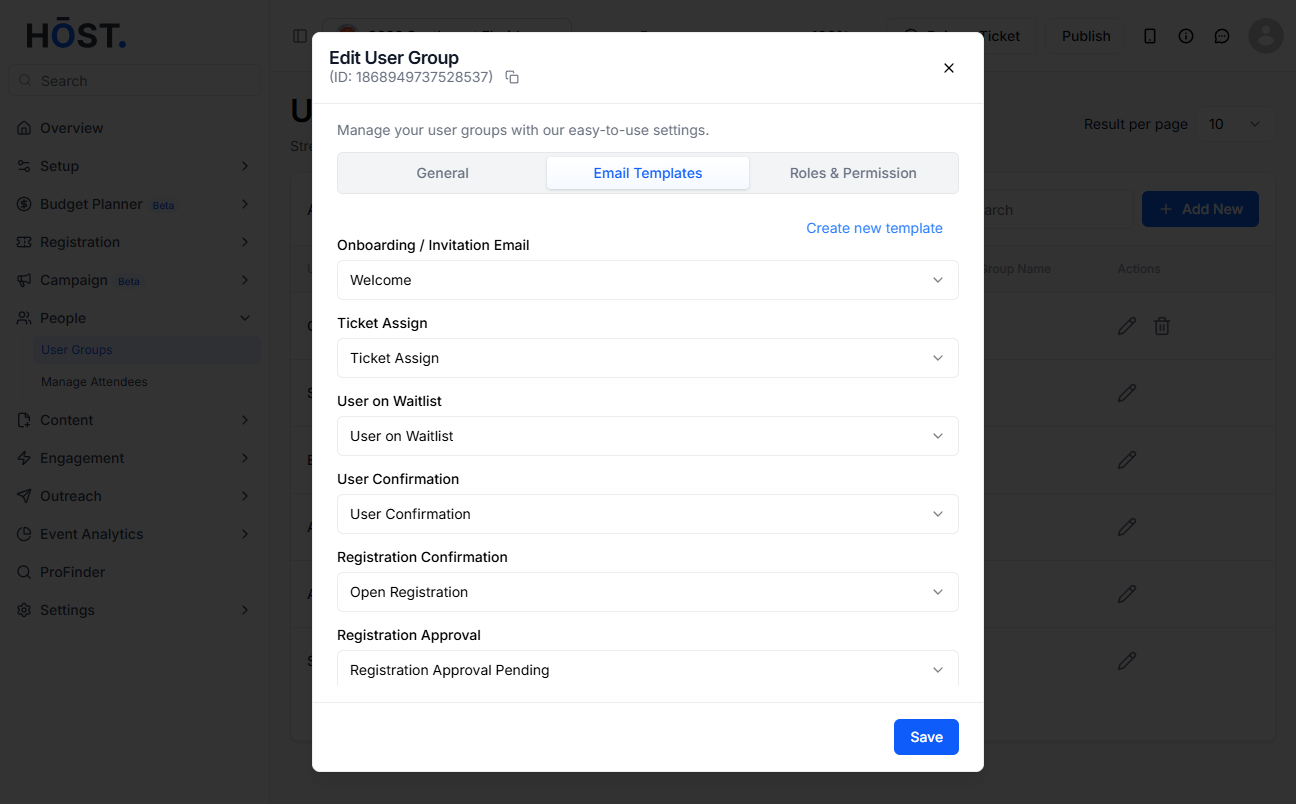
4: On the Email Templates tab, choose which template to use for each event email — Onboarding/Invitation, Ticket Assign, User on Waitlist, User Confirmation, Registration Confirmation, Registration Approval and more — or click “Create new template”.
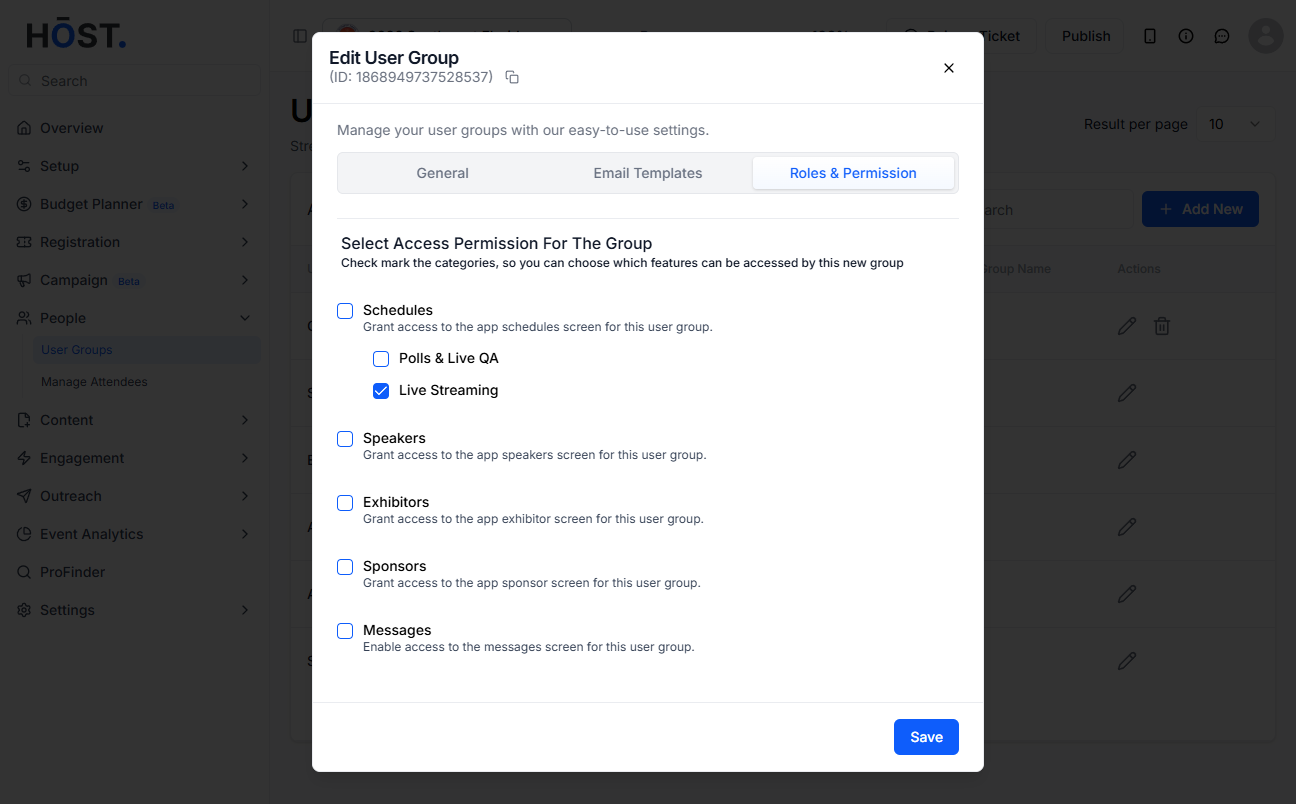
5: On the Roles & Permission tab, check or uncheck features to grant or remove access for this group, then click “Save” to apply all your changes.