Communities help foster meaningful interactions by enabling features like job postings, meetups, and ice-breaking among attendees with shared interests. Follow the steps below to create and manage a community
1: Go to Engagement > Community. Any predefined communities are listed here (you can delete them). Click the “Add New” button to create a new community.

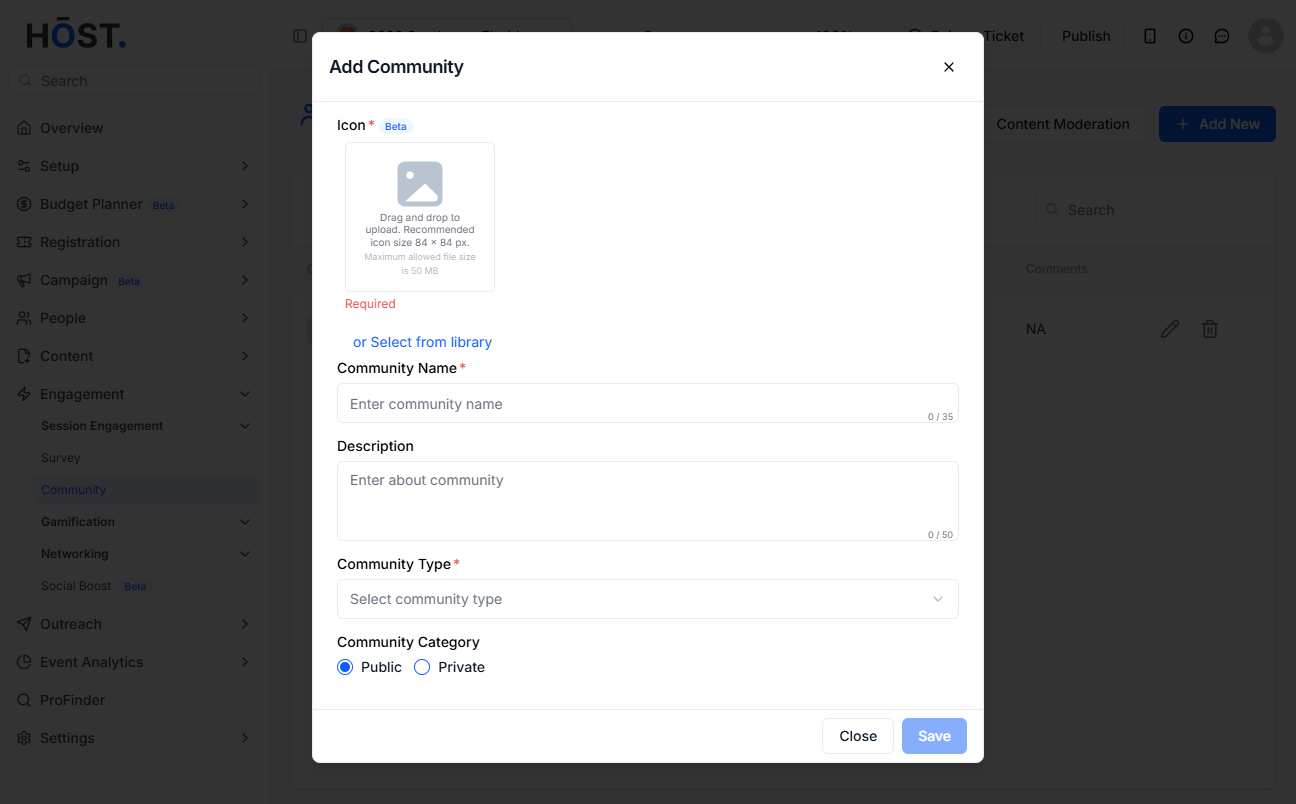
2: Upload a community icon or image (or pick one from the library), enter a Community Name, and add the community's purpose in the Description field.
3: Select a Community Type. HOST has 5 types: Post, Group, Ice Breaker (you can add questions and choose a colour for them), Meetup, and Job.
4: Set the Community Category to Public or Private (for Private, choose members via “View/Manage Users” by user group), use the restrict toggle to control who can post and comment, then click “Save” to create the community.
